Gather your ingredients
For two cups. The optional additions are yours to choose.
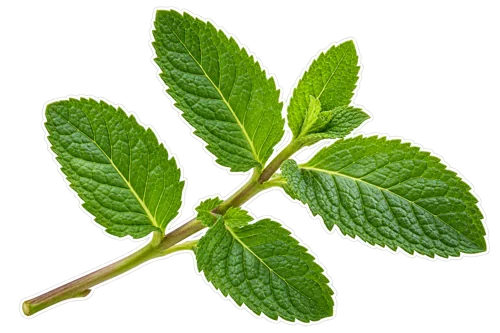 ½ cup loosely packed fresh mint leaves (about 8 g), washed
- 2 cups freshly boiled water (480 ml)
 Optional: 1 lemon wedge per cup
- Optional: 1–2 teaspoons honey or sugar, to taste
How to make it
Rinse the mint under running water. Pick off the leaves and tender tips; discard damaged leaves and thick, woody stems. Lightly press the leaves once between clean fingers to release their aroma.
Put the mint in a heat-safe teapot or jug. Pour over 2 cups of freshly boiled water and cover. Keep a glass pot off the stove unless its manufacturer specifically says it is safe for stovetop use.
Steep for 5–8 minutes. Taste a spoonful after 5 minutes, taking care with the hot liquid. For a stronger cup, steep a little longer or add more mint next time.
Strain into two cups. Add a small squeeze of lemon or a little sweetener if you like. Serve warm.
Choose your mint
Spearmint makes a gentle, familiar starting point. Peppermint gives a sharper flavor. Taste the leaves before brewing if you are unsure which you have. A mixed bunch also works, but keeping the first pot to one herb makes it easier to learn its flavor.
Fresh or dried?
For this two-cup pot, start with 2 teaspoons of dried culinary mint instead of the fresh leaves. Dried herbs pack differently, so this is a starting amount rather than an exact weight conversion. Keep the same covered steep and taste before increasing the quantity.
Make it iced
Brew the same amount of mint in 1 cup of hot water. Strain, then add 1 cup of cold drinking water. Chill promptly and serve over ice. This concentrated method keeps the first glass from tasting watered down. Add lemon at serving time.
If the flavor needs a little help
Too light? Add more leaves on the next batch. Too sharp or grassy? Shorten the steep, remove tough stems, or dilute the strained tea. Too sour after adding lemon? Add a splash of water before reaching for more sweetener.
A small serving ritual
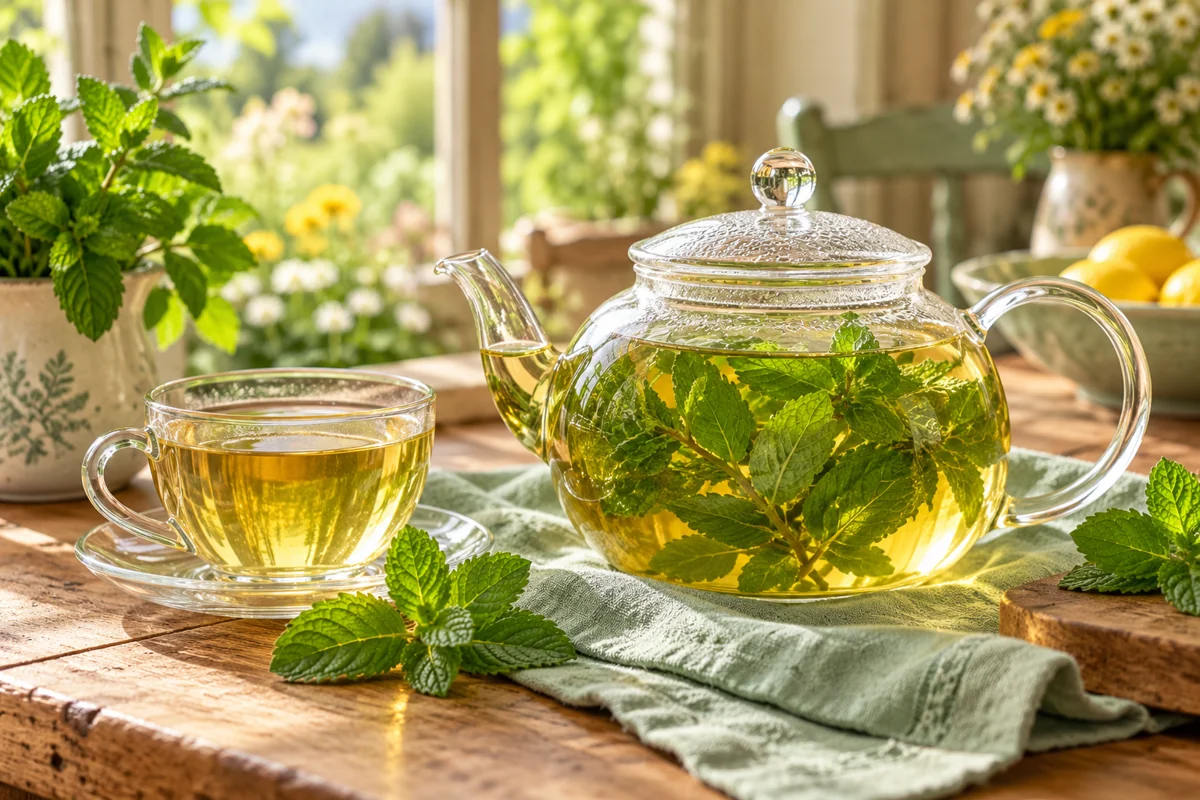
Warm the cups with a little hot water, empty them, and pour the strained tea. Put a washed mint sprig on a small dish beside the pot. The aroma and the simple glassware are enough; the tea does not need elaborate garnishes to feel inviting.
Choose equipment that keeps the leaves loose
You need a kettle or saucepan to heat the water, a heat-safe brewing vessel, a cover, and a strainer. A small teapot with a roomy removable basket is convenient, but a heat-safe jug covered with a suitable lid also works. Avoid stuffing the leaves into a tiny infuser: they should have room around them when the water goes in. If you are using a mug instead of a pot, make half the recipe and cover the mug with a small plate while it steeps.
Measure a handful more consistently
A handful means something different in every kitchen, so the recipe gives a loosely packed cup measure and an approximate weight. Pick the leaves first, then place them in the measure without pressing them down. Include small tender tips if you like, but do not count a large bunch of stems as part of the leaf amount. When you find a strength you enjoy, note the amount and steeping time. Those two details make the next pot easier to repeat, even when your mint bunch is a different size.
A four-cup pot for sharing
For four cups, use 1 cup loosely packed fresh mint leaves and 4 cups water, about 960 ml. Keep the same starting steep of 5 minutes rather than doubling the time. Use a larger vessel so the leaves fit comfortably, then strain when the flavor suits you. Put lemon wedges and sweetener on the table separately so one person can have a plain herbal cup while another adds citrus. For a single cup, halve the original quantities: ¼ cup leaves and 1 cup water.
Build a small tasting comparison
If you want to understand your mint before making a larger batch, pour the strained tea into three small cups. Leave the first plain, add a few drops of lemon to the second, and add a little sweetener to the third. Taste them once the liquid is comfortable to sip. This is a way to choose your own preferred version, not a claim that one combination is better for everyone. You can do the same comparison with a chilled batch, because your serving preference may change when the tea is cold.
Keep a clear cup without chasing perfection
Small leaf fragments can pass through a coarse sieve. If you prefer a clearer drink, strain through a finer tea strainer; avoid pressing the leaves hard against the mesh. A few tiny fragments are a presentation issue you can adjust rather than a reason to throw away the whole pot. Judge strength by taste instead of color alone. Fresh mint tea does not need to become dark green to be enjoyable, and the photography on this page is not a color chart for your own batch.
Use the rest of the bunch in another drink
If you bought mint for this recipe, plan another use for the remaining leaves instead of making more tea than you want. Our cucumber, apple, and mint juice is another option when you have a blender and want a cold drink. Keep the two preparations separate: the juice uses fruit and a blending method, while this recipe extracts flavor into hot water. Before using the remaining bunch, check its condition, follow the supplier’s storage guidance, and discard leaves that have spoiled rather than trying to rescue them in a stronger infusion.
Keeping a little for later
For the best flavor, make a small pot close to serving. If keeping some, strain out the botanicals, cover, and refrigerate promptly. Make only what you expect to use soon. Do not leave a pot sitting out all day or treat homemade tea as shelf-stable.
FoodSafety.gov recommends refrigerating perishable food within two hours, or one hour above 90°F, and keeping the refrigerator at 40°F or below.
Questions before you brew
Can I boil the mint leaves?
This recipe uses a covered steep rather than continued boiling. Start there for a fresh leaf-forward flavor and fewer steps.
Can I use the stems?
Tender tips can go into the pot, but remove large tough stems. The measured amount refers to loose leaves, not an entire tightly packed bunch.
Made for flavor and everyday enjoyment. Read our recipe and image standards.